Python으로 구글 스프레드 시트에 연결하여 읽고 쓰는 방법입니다!!!
(정말 엄청난 삽질과 구글링 끝에.....엉엉)
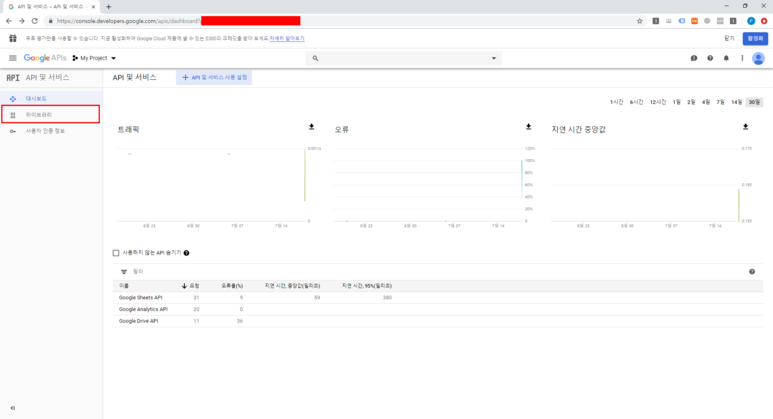
1. 구글 API 만들기
1) https://console.developers.google.com 에 접속해서, 좌측의 라이브러리에서 API 검색 후 설정
- Google Sheets API, Google Drive API 두개 설정해야 합니다.
- 설치 후, 사용자 인증? 해야 합니다.(방금 해놓고 까먹은....)
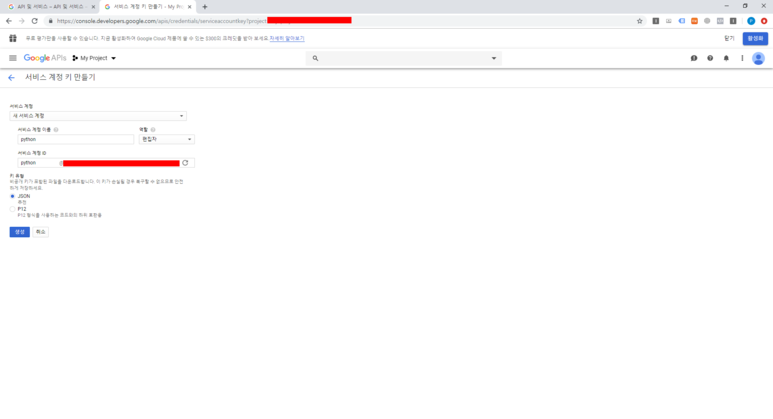
2. 사용자 인증 정보 만들기
1) https://console.developers.google.com 에 접속해서, 좌측의 '사용자 인증 정보' 클릭 후, 계정 생성

2) JSON으로 생성하고, 여기서 다운받은 파일을 잘 간수하세요.
3. 구글 시트 만들기
1) 시트를 만든 후, 공유버튼을 클릭하여, 다운받은 json 파일에 있는 client_email 을 수정권한으로 초대

4. 코딩코딩
pip install gspread
pip install --upgrade oauth2client
pip install PyOpenSSL
import gspread
from oauth2client.service_account import ServiceAccountCredentials
scope = ['https://spreadsheets.google.com/feeds',
'https://www.googleapis.com/auth/drive']
credentials = ServiceAccountCredentials.from_json_keyfile_name('C:\dev\My Project-sample.json', scope)
gc = gspread.authorize(credentials).open("Google Sheet Name")
wks = gc.get_worksheet(0)
gc.get_worksheet(-1)## integer position으로 접근
gc.worksheet('Sheet Name) ## sheet name으로 접근
wks.update_acell('D1', 'It's Work!')
# Select a range
cell_list = wks.range('A1:C7')
for cell in cell_list:
cell.value = 'test'
# Update in batch
wks.update_cells(cell_list)
끝!
'Programming > Python' 카테고리의 다른 글
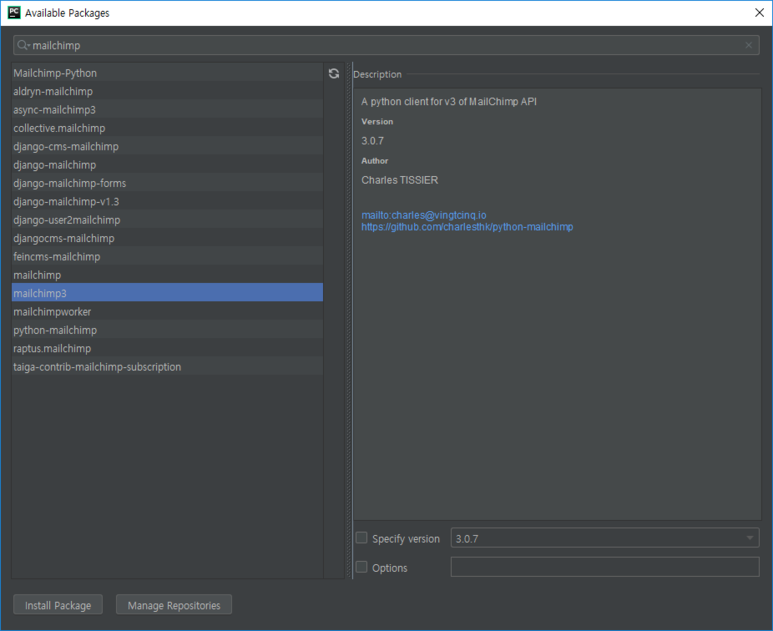
| Python Mailchimp API 연동 (0) | 2019.07.16 |
|---|---|
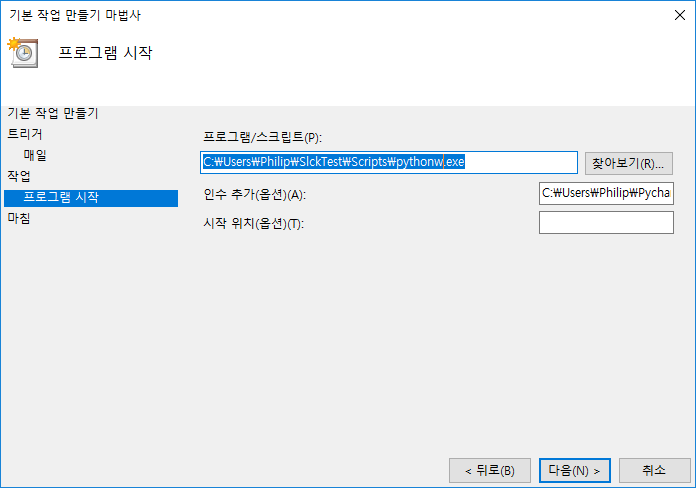
| Python 웹페이지 크롤링 후 Slack으로 공유 (1) | 2019.07.16 |
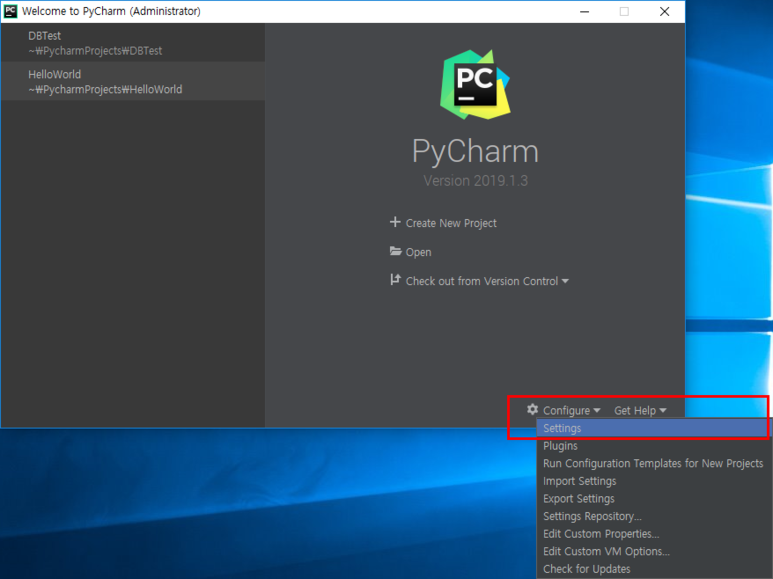
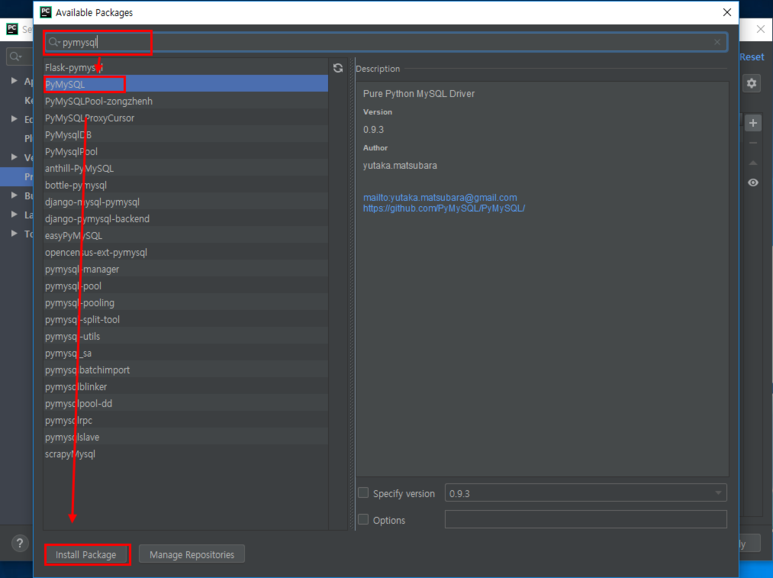
| Phthon Pycharm으로 MySQL 연결하기 (2) | 2019.07.16 |